One of my most significant mysteries in life is knowing how to reheat shrimp. Not only do I doubt the best approach to reheat my favorite crustacean dish, but I also fear that through reheating, I might overcook it and lose the flavor.
If you have just started learning how to cook, reheating shrimp can be a daunting experience. And I believe that kind of notion stems from the pressure of ensuring that the shrimps remain tasty.
Through research and inquiries from expert chefs, I learned some of the best methods on how to reheat shrimp while making sure they are not overcooked and remain flavorful.
What is Reheating and How to Safely Do It?
Correctly reheating food is essential in destroying harmful bacteria that might have developed from the time the food was prepared. Below are tips on how to safely reheat foods in general.
1. Effective Equipment for Efficient Reheating
Ensure that you are using equipment that efficiently reheats foods. Be meticulous in following the reheating guide as indicated by the equipment manufacturer. If the wrong equipment is used for reheating and the food is not heated correctly, chances are foods may not receive enough heat that could kill harmful bacteria.
2. Preheat Equipment before Reheating
Heating equipment, such as ovens, should be preheated before finally doing the reheating procedure. If the equipment is not preheated, it will take a longer time for foods to get reheated. This implies that the manufacturer’s suggested reheating time is accurate or the foods will take longer time to reheat.
3. Follow the Manufacturer’s Guide on Reheating
Follow the manufacturer’s instructions when using the microwave to reheat food. The manufacturer has verified its guidelines for ensuring the correct reheating of goods. Stirring is a component of the reheating process in a microwave and helps guarantee that the food is evenly heated.
4. Serve Immediately
Serve reheated food as soon as possible unless it is directly hot. When food has not been served right away, the temperature decreases, and infectious agents can increase.
Related: How to Reheat Pork Chops in Three Simple Ways
Easy Ways To Reheat Shrimp
Whatever reason you have for reheating your favorite shrimp dishes, these four proven ways will help you preserve the flavor of your food without overcooking.
Method 1: Reheating Using An Oven
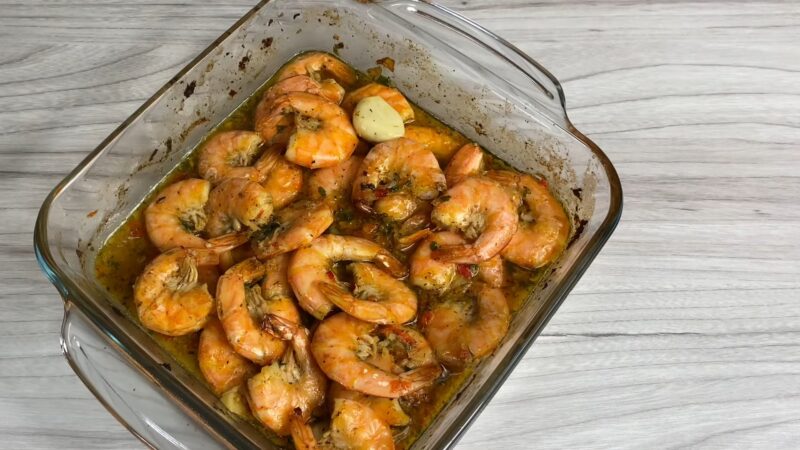
The most popular means of reheating breaded shrimp is the oven method. This method is ideal for shrimp dishes containing dry ingredients, such as bread and coconut.
The oven method ensures that the flavor and crunchiness of the shrimp dish remain. Gently cook the shrimp as the temperature increases to give the cooked shrimp time to plump back, and for the breading to turn crispy and golden brown without getting burnt.
Things You Will Need
- Cooked fried shrimp. The cooked fried shrimps referred here are those that have been previously prepared, breaded, and cooked. The fried shrimps should have been put into a freezer and kept refrigerated for 24 hours or less but not beyond that.
- Aluminum foil. Aluminum foil is needed to ensure that the shrimps are well-reheated without overcooking them. If not used, it can lead to browning of the shrimp too rapidly. To keep the tenderness and juiciness of your shrimp, retain the moisture through the use of an aluminum foil
- Baking sheet. Reheating the shrimp in the oven will not be possible in the absence of a baking sheet. If you do not have any baking sheet available, find any cookware that has flat bottoms and is oven-safe. You do not need any fancy type of baking sheet. A simple, medium-sized one would be enough to keep the shrimp together.
Step-by-Step Process
| Step 1 | Preheating. If you want to reheat your food or shrimp at a shorter time but still achieve the brownness and crispiness you desire, preheating the oven is essential. In preheating the equipment, do so at roughly 300 degrees Fahrenheit. |
| Step 2 | Coating. Overheating can cause the shrimp to become dry. And this is the one thing you should never allow to happen. To prevent dryness, coat your shrimp pieces using butter or olive oil. |
| Step 3 | Wrapping. Before putting the shrimp pieces into the oven, make sure to wrap them loosely using aluminum foil. If there are many shrimps, consider wrapping them piece by piece. |
| Step 4 | Arranging. There is a rationale behind arranging shrimp pieces. When you arrange the shrimps properly on a baking sheet, this allows shrimp pieces to get evenly heated. |
| Step 5 | Heating. Depending on the food you are reheating in the oven, the time it takes usually varies. For instance, if you are warming veggies, this usually takes only 10 minutes. For shrimp pieces, the ideal reheating time is 15 minutes. Halfway through the process, check your shrimps. If they lack the crispiness you desire, create a small hole in the foil to allow the steam to dissipate. |
| Step 6 | Removing. Once reheating time is complete, remove the shrimp from the oven; however, do not serve the dish yet. Allow the shrimp pieces to cool down a bit before serving. |
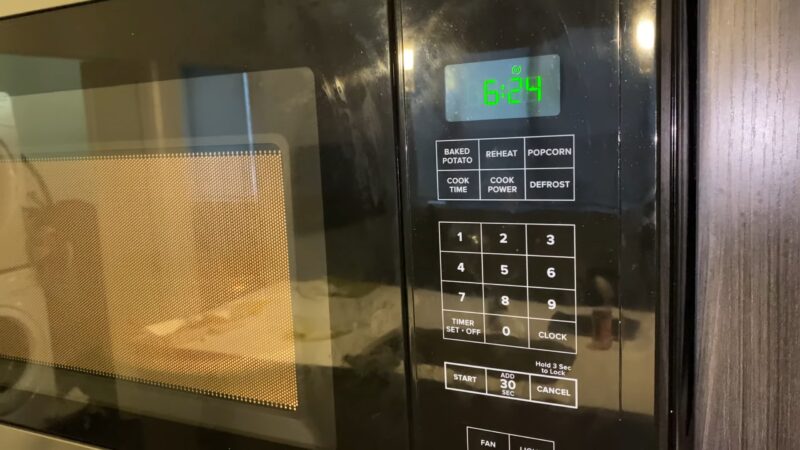
Method 2: Reheating Using A Microwave
For people on-the-go, finding the quickest and easiest way of doing things is the ultimate objective. And what can be a faster and more natural way of reheating the shrimp than the use of a microwave?
Nevertheless, some experts disagree with using the microwave for reheating — the reason is the tendency of a microwave to overcook the food.
As for other cooking professionals, reheating the shrimp in a microwave is safe and possible when done correctly. They further claim that it takes adherence to the manufacturer’s guidelines to achieve the reheating goal without making the shrimp rubbery.
Things You Will Need
- Plastic wrap. I know some people are a bit skeptical about using plastic wraps in heating foods using a microwave. But to appease everyone, the United States Department of Agriculture (USDA) says it is safe to use plastic wrap in the microwave. Just make sure that the plastic wrap is labeled microwave-safe. Further, the USDA advises ensuring that the plastic wrap doesn’t touch the food.So, why do we use plastic wrap in reheating the food in the microwave? The main reason behind this is to create a steaming effect that prevents the shrimp from getting burnt.
- Cooked shrimp. What kind of shrimp dishes can we reheat in the microwave? You can reheat any shrimp dish – fried, steamed, boiled, or even sauteed.
- Microwave-safe cookware. What does it mean when cookware is microwave-safe? According to David Mccowan, a food science contributor of Takeout.com, cookware is microwave-safe if it does not deform or break during the heating process in the microwave, or if it does not produce hazardous chemicals.
Step-by-Step Process
| Step 1 | Arranging. Arrange the shrimp pieces in a single layer in microwave-safe cookware. |
| Step 2 | Covering. Cover the microwave-safe cookware with a plastic wrap. Make sure that the wrap is also labeled safe for use in the microwave. |
| Step 3 | Placing. Place the container with shrimp inside the microwave. Set a minute for reheating. If you feel the shrimp dish needs more heating, set another minute to complete the process. |
| Step 4 | Removing. After reheating the dish, remove it from the microwave. Wait for a while until it is warm enough and ready to serve. |
Method 3: Reheating Using A Skillet
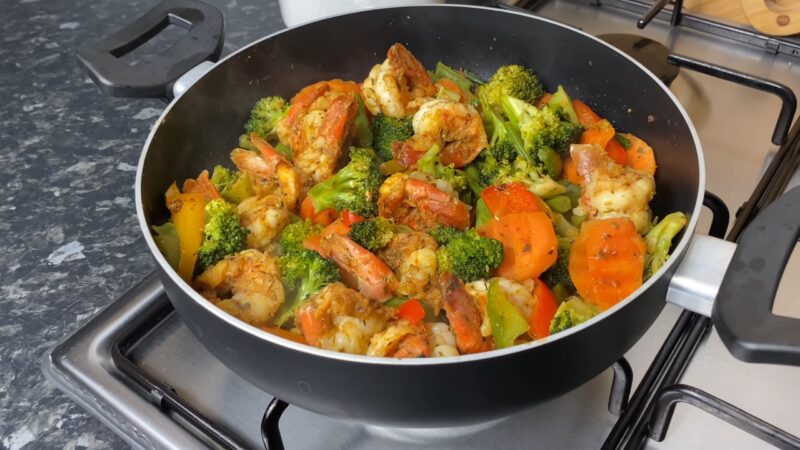
The skillet method is the ideal reheating approach for non-breaded shrimp dishes or those that do not have coconut on them. By sauteing the shrimp on a skillet, you are allowing moisture to provide juices to the dish. When that happens, the shrimp soaks up the flavor and freshness of the fluid. After some cooking time, the shrimp turns golden brown and is ready to be devoured.
Things You Will Need
- Butter or oil. Butter, olive oil, flavored oil, or regular vegetable oil may be used to make oil or fat elements. Use whatever type of fat you want. If all you have is olive oil, use it. The addition of fat or oil will give you any flavor you want to give to the shrimp.
- Aluminum foil. The perfect way to maintain the juiciness and tenderness of your shrimp is through aluminum foil.
- Non-stick skillet. An excellent and robust stainless steel pan is going to do well in reheating the shrimp. The quantity of shrimp you’re going to cook depends on the size of your skillet. The shrimp should be arranged next to each other and not piled up. Ensure the pan you use enables the shrimp to be in one layer and can absorb fat or oil adequately. Teflon Skillet is most often recommended because it produces uniformly heated surface, and so you get evenly cooked food.
- Cooked shrimp. Consider using steamed or sauteed shrimp pieces if you want to use the skillet method of reheating.
Step-by-Step Process
| Step 1 | Heating pan. Before using the skillet for reheating, make sure to heat it well over medium fire. |
| Step 2 | Adding oil or fat. Using your desired oil or fat or butter, add some on your skillet to prevent shrimps from sticking. |
| Step 3 | Adding the shrimp. When adding the shrimp pieces, arrange them in a single layer to avoid overcrowding and produce an evenly heated dish. |
| Step 4 | Cooking the shrimp. It only takes a short time to reheat the shrimp on a skillet. |
| Step 5 | Flipping. Consider flipping the shrimp to obtain a good texture and uniformly heated dish. |
Method 4: Reheating Using A Steamer
Isn’t it essential to preserve the shrimp’s taste while reheating it? The steaming method of reheating shrimps is the most effective option for doing that. The steaming technique is ideal for all kinds of shrimp. Always remember that they should have no coconut and other dry ingredients, and most importantly, they should not be breaded. The most important aspect of the steaming method is that all types of shrimp can be reheated with this technique. The technique is, therefore, very flexible.
Things You Will Need
- Double boiler or steaming container. The steaming pan is your finest option, but if it is lost or not accessible, select one which is only a little larger compared to your steaming insert.
- Steaming insert. Naturally, this includes the steaming pan. It’s the most exceptional solution because its base is smooth, so you can uniformly organize the shrimp. But if not available, a skewer, aluminum strainer, or a thermal pot may be used as substitutes.
Step-by-Step Process
| Step 1 | Filling the pot with water. Fill your container with water about midway through it or merely adequate so that even when cooking, the insert will not contact the water. |
| Step 2 | Arranging the shrimp. Position the shrimp pieces on the insert in such a way that they are in one layer. Spread them up for best results. Do it in batches if you’ve got much to reheat. |
| Step 3 | Placing the insert. When the liquid begins to warm, position the pad over it. Cook the shrimp until it starts to release its aromatic scent. |
Additional Tips
- It’s not recommended to use the microwave often. If you are unable to control the reheating process in the microwave, it makes the shrimp soggy.
- You can put some butter on the shrimp pieces when reheating them. This dramatically improves the shrimp flavor. Another option to contribute more flavor when reheating the shrimp is to substitute the oil with butter.
- If you have just taken the shrimp from the freezer, thaw them first. Frozen shrimps should be correctly thawed before reheating so that their desired texture is maintained or achieved.
- As we talk about creating a flavorful shrimp dish, the use of lemon is worth mentioning. It is an excellent way to add a refreshing touch by pressing some of that over the shrimp before reheating
- Excessive heat removes the natural flavor and juiciness of shrimps.
- Do not use the steaming technique when operating with coconut or breaded shrimp because the crumbs tend to soften. And because the crumbs and other such frozen items tend to soften.
- It is unwise to reheat the shrimp the second time as this may cause contamination.
FAQ
What is the best way to store cooked shrimp?
Cooked shrimp should be cooled to room temperature as quickly as possible after cooking, then refrigerated in an airtight container. It’s best to consume cooked shrimp within two days of cooking for optimal freshness and safety.
Can I reheat shrimp more than once?
It’s generally not recommended to reheat shrimp more than once. Each time you reheat shrimp, it loses moisture and can become tough. Also, repeated reheating can increase the risk of foodborne illness.
How can I tell if my reheated shrimp is safe to eat?
Reheated shrimp should reach an internal temperature of 165°F to ensure it’s safe to eat. Also, look for signs of spoilage such as a sour or off smell, slimy texture, or discoloration. If you notice any of these signs, it’s best to discard the shrimp.
Can I reheat that was cooked from frozen?
Yes, you can reheat shrimp that was cooked from frozen. However, it’s important to ensure that the shrimp is reheated to a safe internal temperature of 165°F to kill any potential bacteria.
Is it safe to reheat shrimp in a plastic container in the microwave?
It’s generally safe to reheat shrimp in a plastic container in the microwave, as long as the container is labeled as microwave-safe. However, for best results and to avoid potential chemical leaching, consider using a microwave-safe glass or ceramic container instead.
Can I reheat breaded shrimp in a microwave?
While it’s possible to reheat breaded shrimp in a microwave, it may not yield the best results. The breading can become soggy and lose its crispness. For breaded shrimp, reheating in an oven or toaster oven is usually a better option.
Conclusion
Initially, shrimps are translucent. Once cooked, they turn pink. This article presented four methods on how to reheat shrimp. You can reheat the shrimp using the microwave, oven, skillet, or steamer. The choice is yours. Just follow the instructions meticulously, and you will have an excellently flavorful and tasty reheated shrimp dish.
Read more : How to Reheat Wings in Five Easy Ways