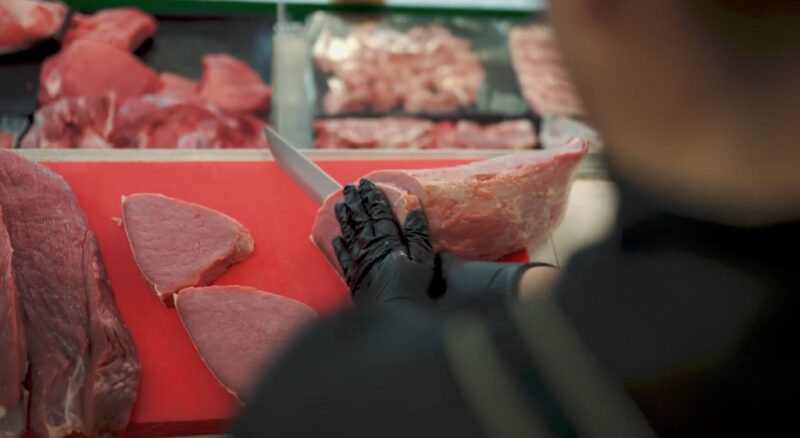
Food Tips Smart Packaging For Meat Products: Enhancing Shelf Life Read More » November 27, 2023 No Comments
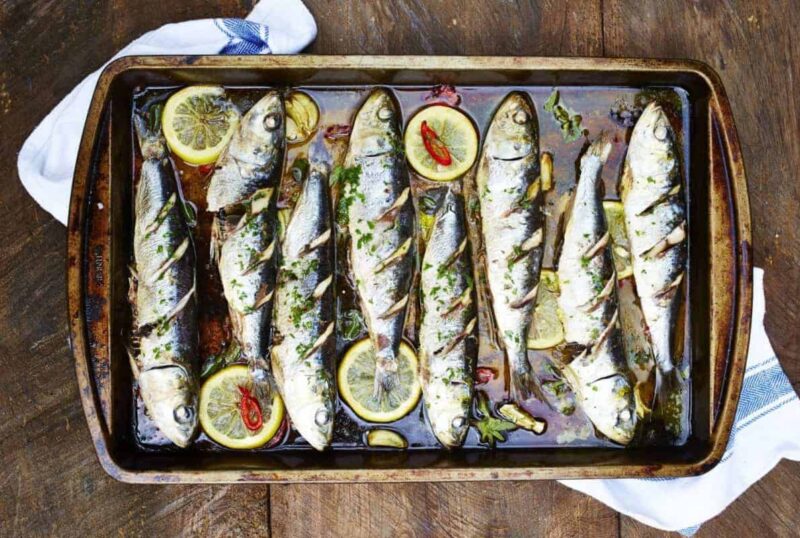
Food Tips Is Eating Canned Sardines Good for You: From Sea to Can Read More » October 27, 2023 No Comments
Food Tips How Much Brisket Per Person Do I Need? – Preparing Memorable Feast Read More » October 24, 2023 No Comments
Food Tips How Long to Microwave a Hot Dog: Perfect, Fast Lunch Read More » October 24, 2023 No Comments
Food How To Cook Brats In The Oven: A Quick and Tasty Oven Method Read More » October 20, 2023 No Comments
Food Tips Can You Freeze Mozzarella Cheese? Saving Your Cheese Leftovers! Read More » October 20, 2023 No Comments
Food Tips 10 Best Oyster Sauce 2023 – From the Sea to Your Plate Read More » October 20, 2023 No Comments